The Ultimate Guide to Capturing the Milky Way While Camping (You Won’t Believe How Easy It Is!)
Ever dreamed of snapping jaw-dropping shots of the Milky Way while surrounded by nature? You’re in luck! As a passionate astrophotographer who’s spent countless nights under the stars, I’m here to spill all my secrets. Let’s dive into the world of Milky Way photography and turn your camping trips into celestial adventures.
Why Your Location Can Make or Break Your Shot
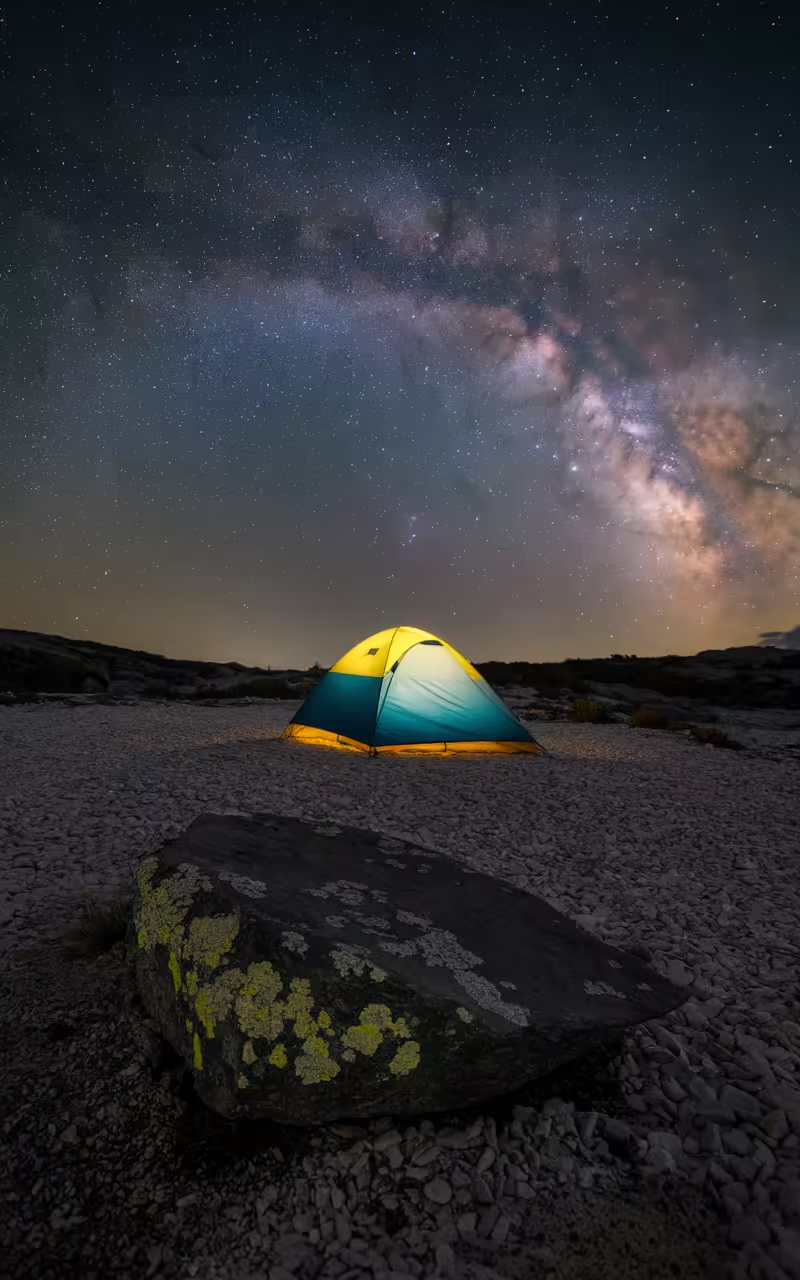
Choosing the right spot is crucial. Trust me, I learned this the hard way when I drove hours to a “perfect” location, only to find it bathed in the glow of a nearby town. Now, I always use a Dark Sky Map to find truly dark skies. National parks and wilderness areas are your best bets – they’re like nature’s own photography studios.
Pro tip: Timing is everything. Aim for clear nights within three days of a new moon. The Milky Way puts on its best show between March and October, so plan accordingly.
The Gear That’ll Take Your Photos from Meh to Magnificent
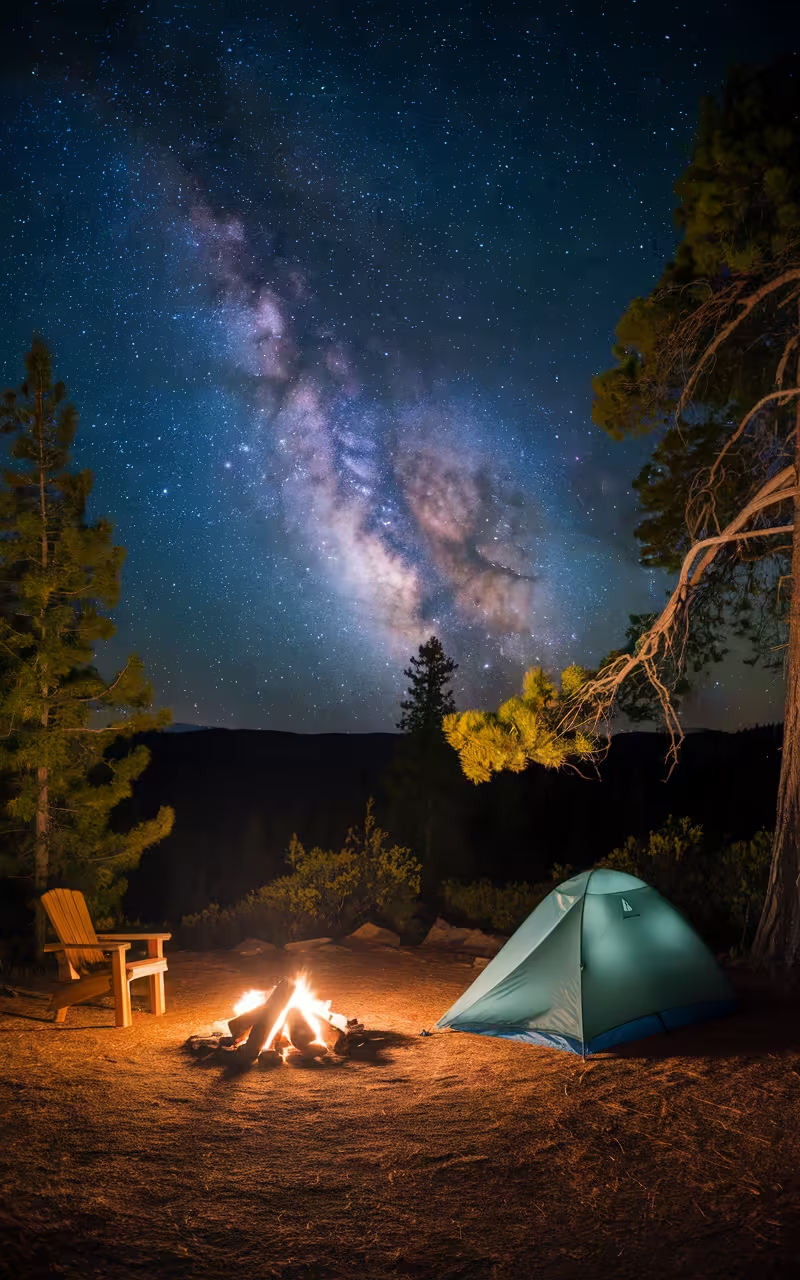
Camera body: Any DSLR or mirrorless camera will do, as long as it has manual mode. I’ve captured stunning shots with entry-level cameras, so don’t let gear anxiety hold you back.
Lenses: Wide-angle is the way to go. My go-to is the Sigma 35mm Art lens. It’s like having a pair of cosmic binoculars. Look for apertures between f/1.4 and f/2.8 to let in as much starlight as possible.
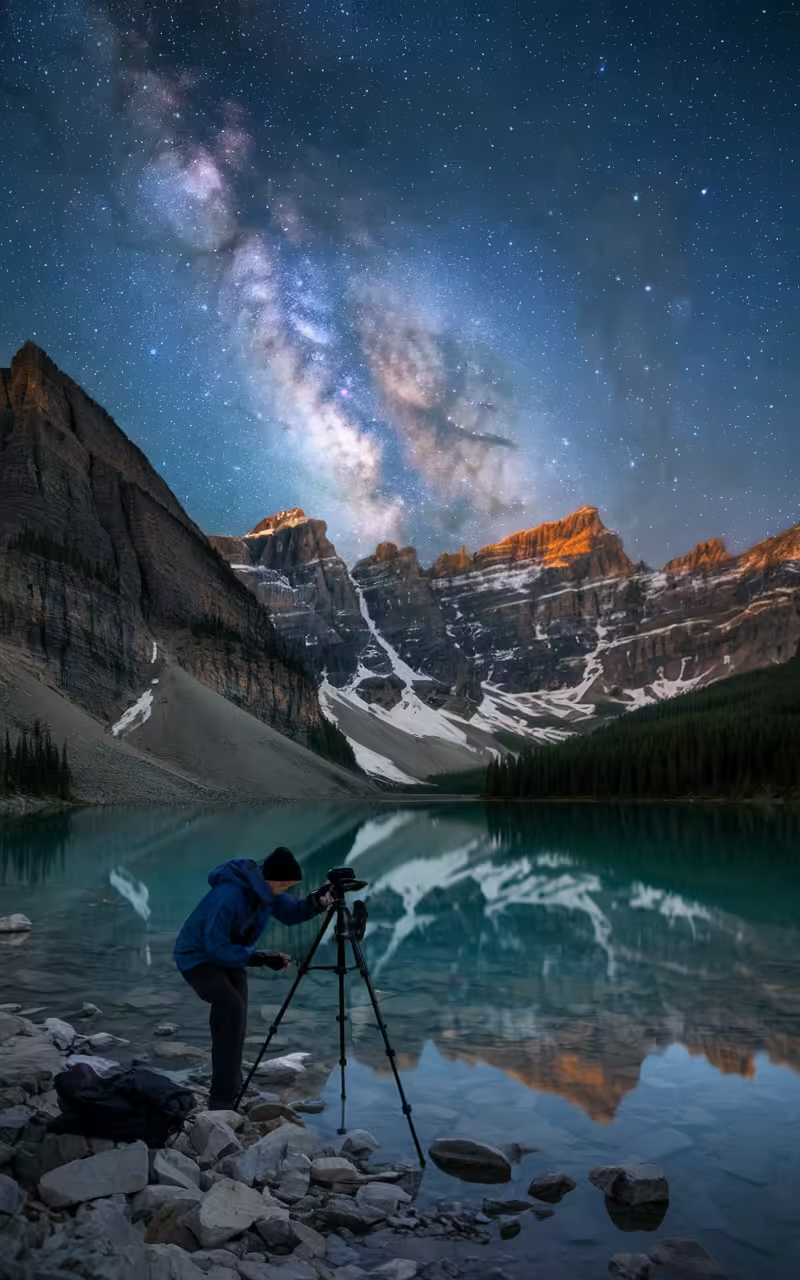
Tripod: This is non-negotiable. A sturdy tripod is your best friend for those long exposures. I once tried balancing my camera on a rock – let’s just say the results were less than stellar.
Apps: Download Sky Map apps like PhotoPills or Star Walk. They’re like having a personal astronomer in your pocket.
Setting Up Your Shot: The Devil’s in the Details
Exposure settings: This is where the magic happens. Here’s my tried-and-true formula:
- Aperture: As wide as your lens allows (f/1.4 to f/2.8)
- Shutter speed: 20-30 seconds (use the “500 Rule” to avoid star trails)
- ISO: Start at 1600 and adjust as needed
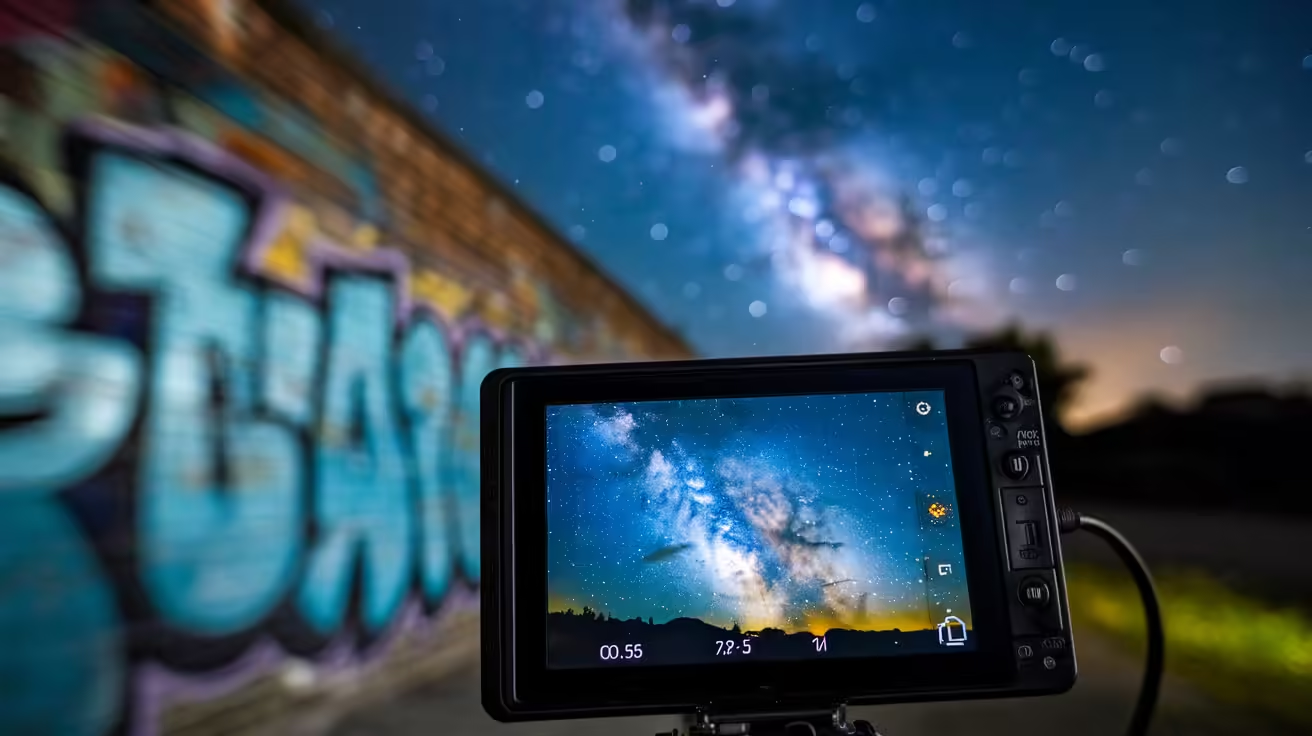
Focusing: Forget autofocus – it’ll just hunt in the dark. Switch to manual and use Live View to focus on the brightest star you can find. It’s like playing a cosmic game of pin the tail on the donkey.
Composition: Don’t just point and shoot. Include interesting foreground elements like your tent or a campfire. It adds depth and tells a story. One of my favorite shots includes my beaten-up old Jeep in the foreground – it adds a sense of adventure to the cosmic backdrop.
![]()
The Moment of Truth: Capturing the Milky Way
Take test shots during dusk to nail your composition. Once it’s dark, disable Auto ISO and shoot in full manual mode. Take multiple shots – the Milky Way isn’t going anywhere, but your perfect shot might be hiding in one of those frames.
Lighting the foreground: Here’s a trick I stumbled upon by accident. Leave a soft light on inside your tent. It creates a warm glow that contrasts beautifully with the cool tones of the night sky.
Key Takeaway: Patience is your secret weapon. Don’t rush – take your time setting up, and be prepared to take lots of shots. The perfect image is out there, waiting for you to capture it.
Post-Processing Magic: Turning Good Shots into Masterpieces
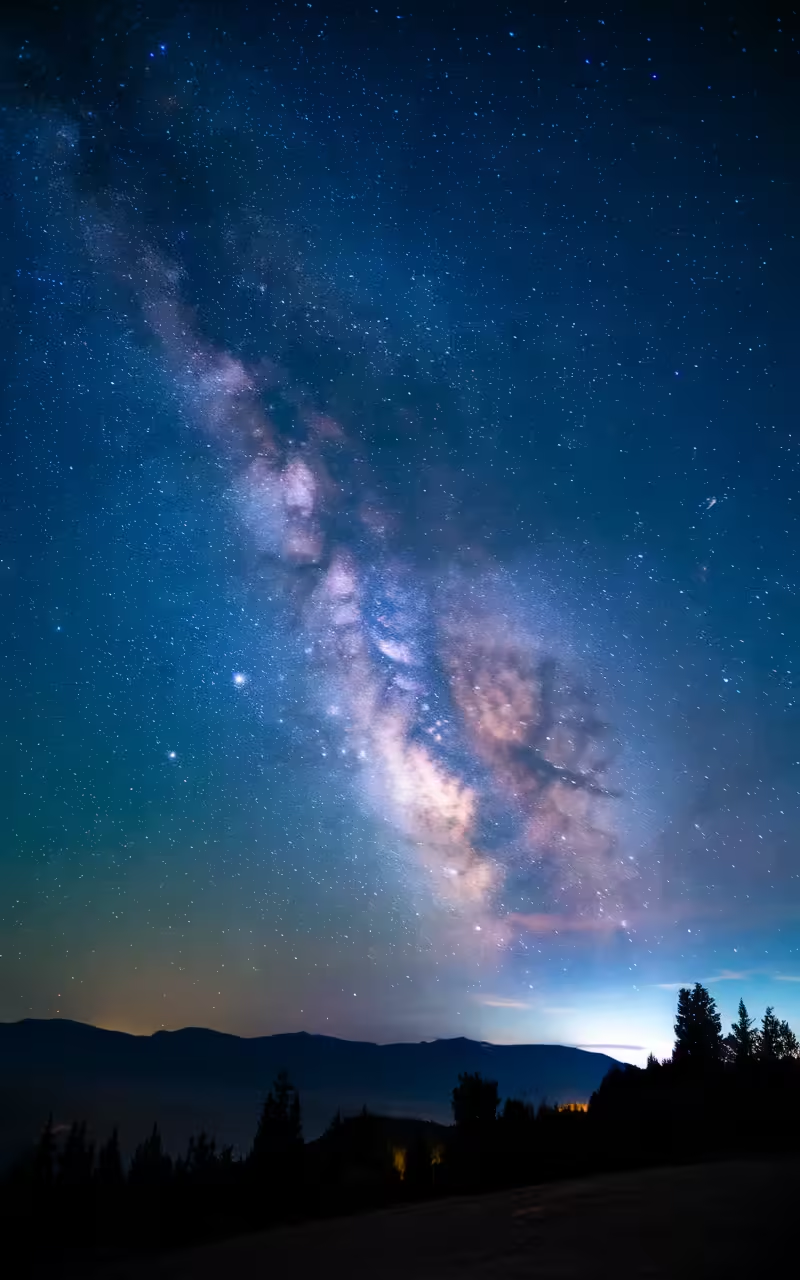
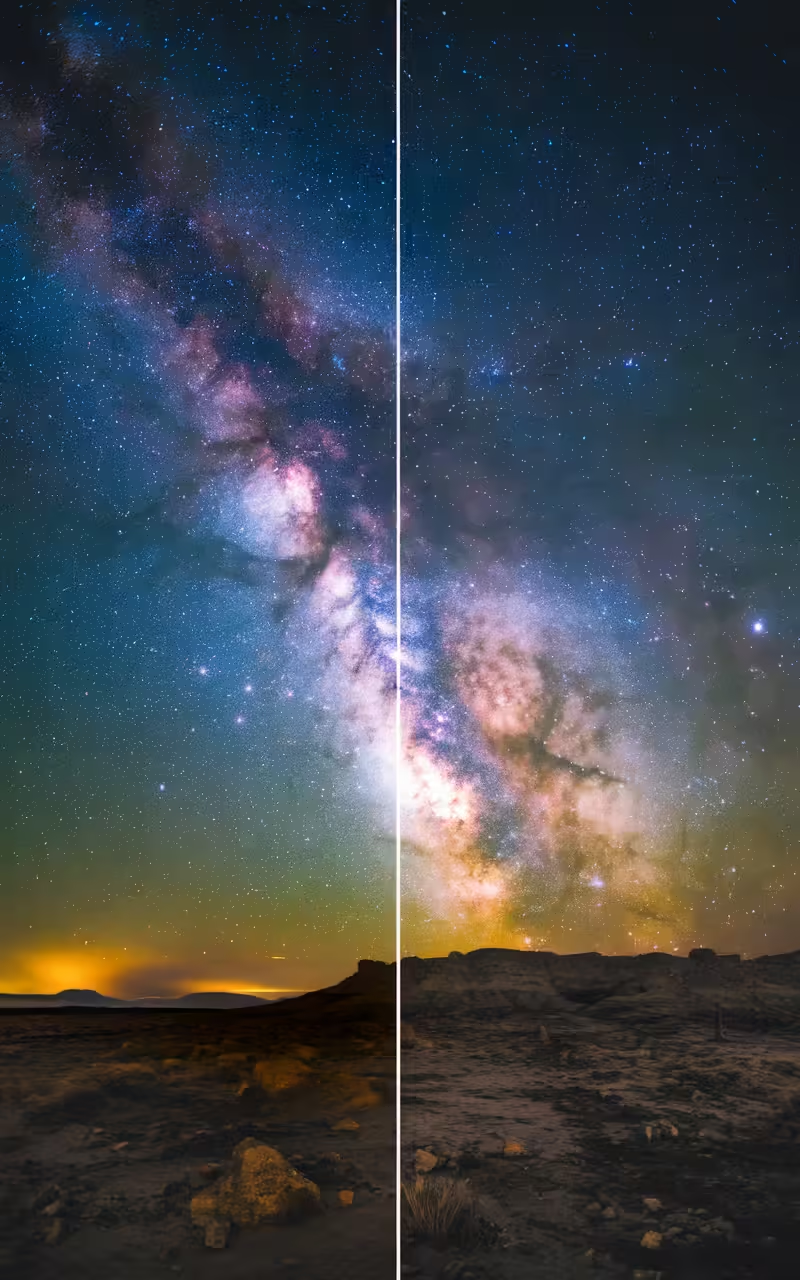
Now that you’ve captured the raw beauty of the night sky, it’s time to unleash your inner artist. Post-processing isn’t cheating – it’s an essential part of astrophotography.
Start with RAW files: They’re like digital negatives, giving you maximum flexibility. I once salvaged a seemingly ruined shot by tweaking the RAW file – it’s now one of my most popular prints.
White balance: Cooler temperatures (3500-4500K) often work best for night skies. Play around until you find that sweet spot between realism and ethereal beauty.
Noise reduction: Use it sparingly. Too much, and you’ll lose those delicate star details. I prefer to reduce noise selectively, focusing on darker areas.
Bring out the Milky Way: Use the adjustment brush to enhance the core’s brightness and contrast. It’s like giving the galaxy a gentle spotlight.
Pro tip: Don’t go overboard. Subtle adjustments often yield the most striking results. Remember, we’re enhancing reality, not creating fantasy.
Advanced Techniques: Taking Your Skills to the Next Level
Star tracking: Ready to level up? Invest in a star tracker. It lets you take longer exposures without star trails. My first attempt was a comedy of errors, but now I can’t imagine shooting without one.
Panoramas: Stitch multiple shots together for mind-blowing wide-field views. It’s like creating a cosmic tapestry.
Foreground blending: Capture the landscape during blue hour, then blend it with your night sky shot. It’s the best of both worlds – detail and drama.
Time-lapse: Set up your camera to take shots throughout the night. The resulting video of the Milky Way’s journey across the sky is pure magic.
Overcoming Common Challenges: Don’t Let These Trip You Up
Light pollution: Use gradients in post-processing to balance out unwanted glow. It’s like giving your image a digital ND filter.
Condensation: Keep silica gel packs in your camera bag. They’re your lens’s best friend on humid nights.
Battery life: Cold temperatures drain batteries fast. Keep spares warm in your pockets. I learned this the hard way when my camera died just as the aurora started dancing.
Focus issues: If stars look like blobs, you’ve missed focus. Use Live View at 10x magnification to nail it every time.

The Community: Sharing Your Cosmic Captures
Join online astrophotography groups. The community is incredibly supportive and full of tips. I’ve made lifelong friends through these forums.
Share your work on social media. Use hashtags like #astrophotography and #milkywaychasers to connect with fellow enthusiasts.
Consider entering competitions. It’s a great way to challenge yourself and get feedback. My first competition entry was terrifying, but the constructive criticism I received was invaluable.
Final Thoughts: Your Journey to the Stars
Remember, every great astrophotographer started as a beginner. Embrace the learning process, and don’t be afraid to experiment. Each night under the stars is an opportunity to grow and create something truly spectacular.
As you embark on your Milky Way photography adventures, keep pushing your boundaries. Try new locations, techniques, and compositions. The universe is vast, and your potential is limitless.
So pack your gear, head into the wilderness, and look up. The Milky Way is waiting for you to capture its beauty. Who knows? Your next camping trip might just result in your own ultimate guide to capturing the Milky Way.


Leave a Reply